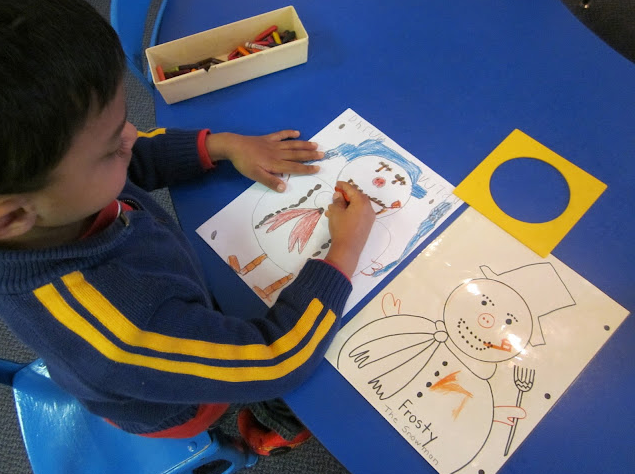
Metal Insets + Extensions
I presented the metal insets just after the sandpaper letters to Little Miss. She was VERY ready to take the next step in learning to write. Prior to this, there is no formal training on writing. In Montessori we begin by preparing the hand to write through practical life and sensorial activities. We train the hand by providing plenty of activities that promote pincer grasp (think about all those sensorial activities that require it!) and that build hand a muscle strength. We also wait until hand is further developed so that it is capable of writing properly. If you teach handwriting too early, the child’s muscle and bone development simply is not there. In fact, the hand is not fully developed until age 6. This is something to keep in mind when creating expectations for your child’s academic development. Children will begin to draw with greater detail around age 4 and through age 5 will continue to refine this. It is important in the 3-6 classroom to model and let the child draw or write freely – follow the child on this. This is not the time for worksheets and practice (unless they choose that!) but instead for fun and creativity! Enter the Metal Insets.
So what are the metal insets?
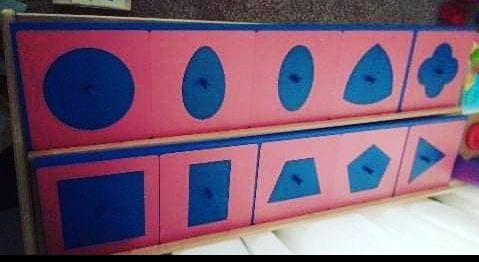
This material is intended to teach the proper way to hold a pencil and promote motor control while creating familiarity with the curves and angles found in letters. The metal insets are metal shapes that match ten of the shapes from the geometric cabinet. There is a square frame (that is pink) and a blue cut out or inset that has a knob at it’s center (pincer grasp reinforcement!). The first presentation teaches the proper way to hold the pencil, then you trace the frame, then the inset (over the frame), then you draw a squiggle line from top to bottom. Each step uses a different color of pencil. Here’s a great tutorial video.
After the first presentation, there are six more exercises to try. In addition to this, there are many extension activities. My goal over this year and next is to bring the insets into our work rotation regularly while keeping it fun and exciting. This will continue to strengthen the hand and train the hand so that the child can hold the pencil correctly and make the correct letter shapes.
Metal Inset Exercises
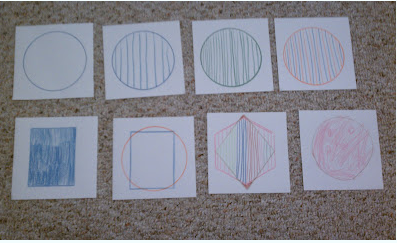
- Dark and Light Pressure – there are two versions of this. Make half dark and half light and then to start dark and move to lighter progressively through the shape.
- Two contrasting figures – trace two contrasting shapes over each other. Color each one a different color.
- One figure – two ways (two pencils) – trace the same shape in two different direction and color each shape a different color
- Three contrasting figures (just like two but with three)
- One figure – three ways (three pencils; just like two but with three)
- Designing – Use a lead pencil to trace the shape and fill in with many different colors
Check out Info Montessori’s detailed explanation of the above exercises for more info or check out Education of Our’s blog post on lesson sequence suggestions.
Metal Inset Extensions
- Cut out shapes/designs and Paste
- Make Booklets
- Sewing the Design
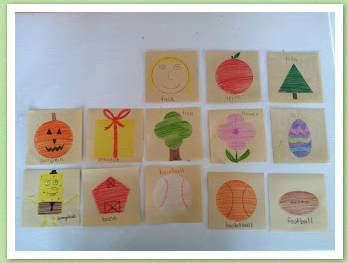
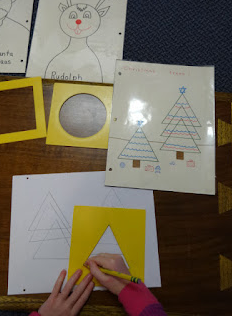
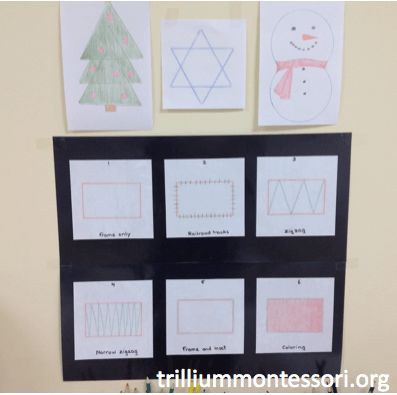
- Seasonal Shapes/Figures (Think pumpkins, Christmas Trees, Eggs, etc.)
- Abstract Art (free flow/design)
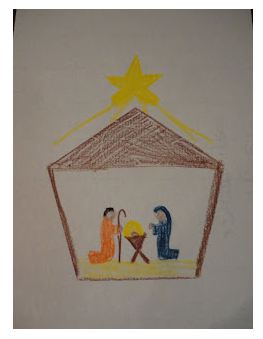
Here are some images that are inspiring me right now. It’s almost Christmas when I am writing this so there’s plenty of that here!
I am so excited to continue to play with these in our homeschool preschool! Have you incorporated these into your home?
If you liked this post, you’ll love these:
