What to DIY, Skip, and Buy for Montessori Homeschooling (Primary Edition)
I have had a few people ask how I have chosen what to skip, DIY, or buy for Montessori Homeschooling. I stepped back and gave it some thought. For our home we have a budget we need to stay in, most things we need we have to order online, and I am not a talented wood worker. All these things play a role in deciding what to purchase, what to DIY, and what to skip.
What We Skipped
Let’s start with what to skip. We don’t actually skip presentations. So if I skip on purchasing and DIY’ing an item, it is because it is something that we already have in our home or we can meet the need without the official material. We honestly haven’t chosen to do this with many items and they fall in the sensorial or practical life category. Most of what you see on the shelf in a Montessori Primary Classroom, you will not see on our shelves. Here are a couple excellent examples that share very little in common with our homeschool environment (this is not true for all homeschoolers, just us!) That’s not to say that examples like these haven’t served as inspiration for a single tray here or there but we haven’t done practical life shelves like this.
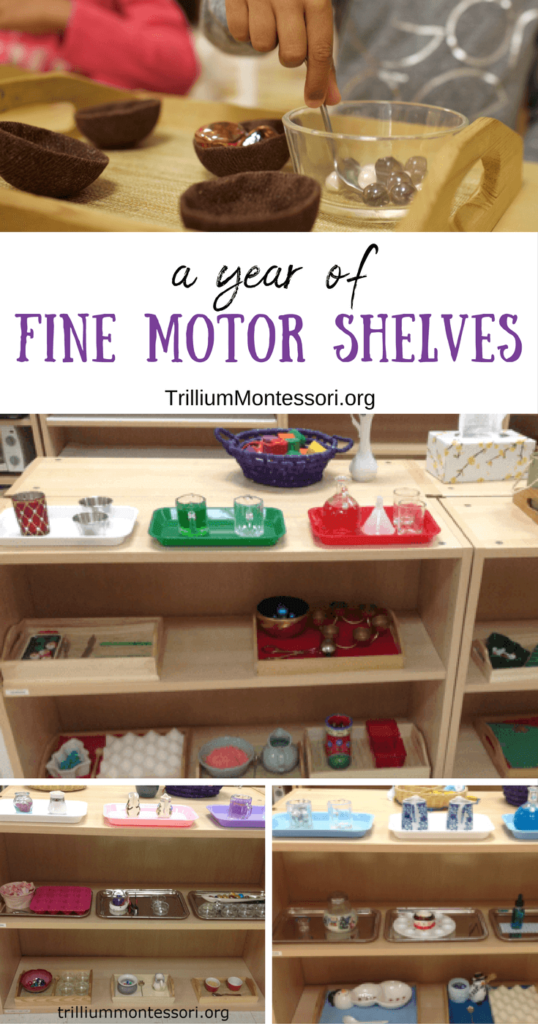
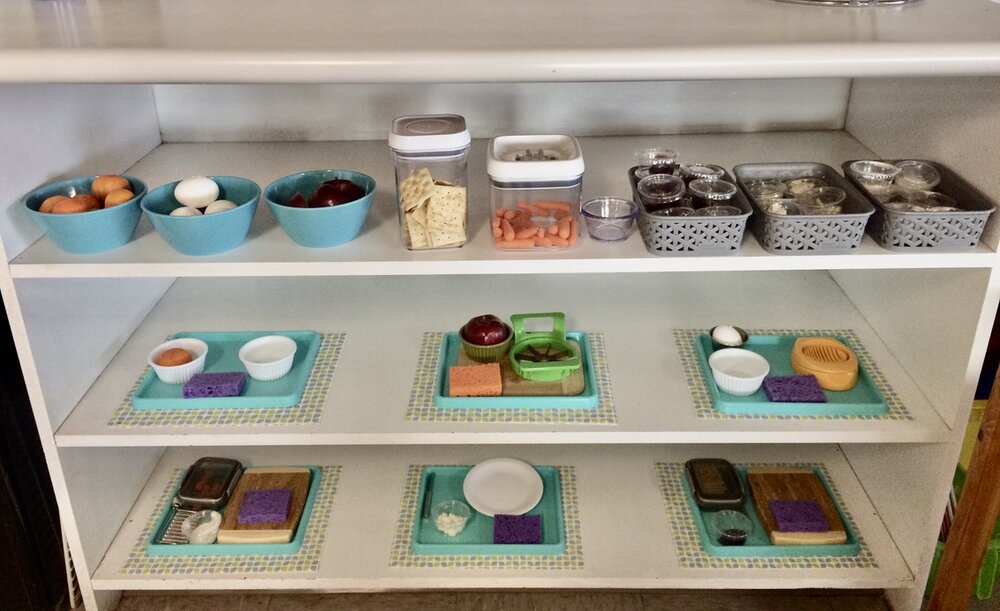

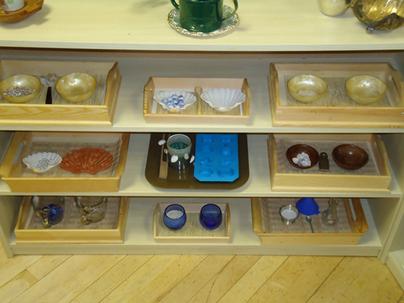
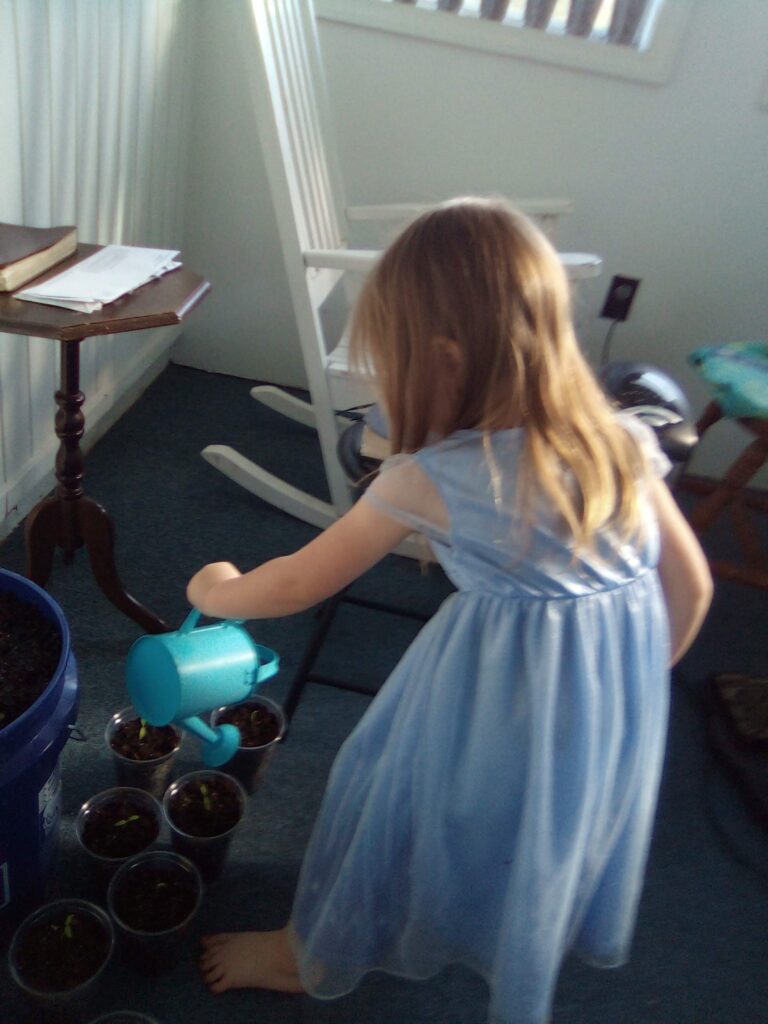
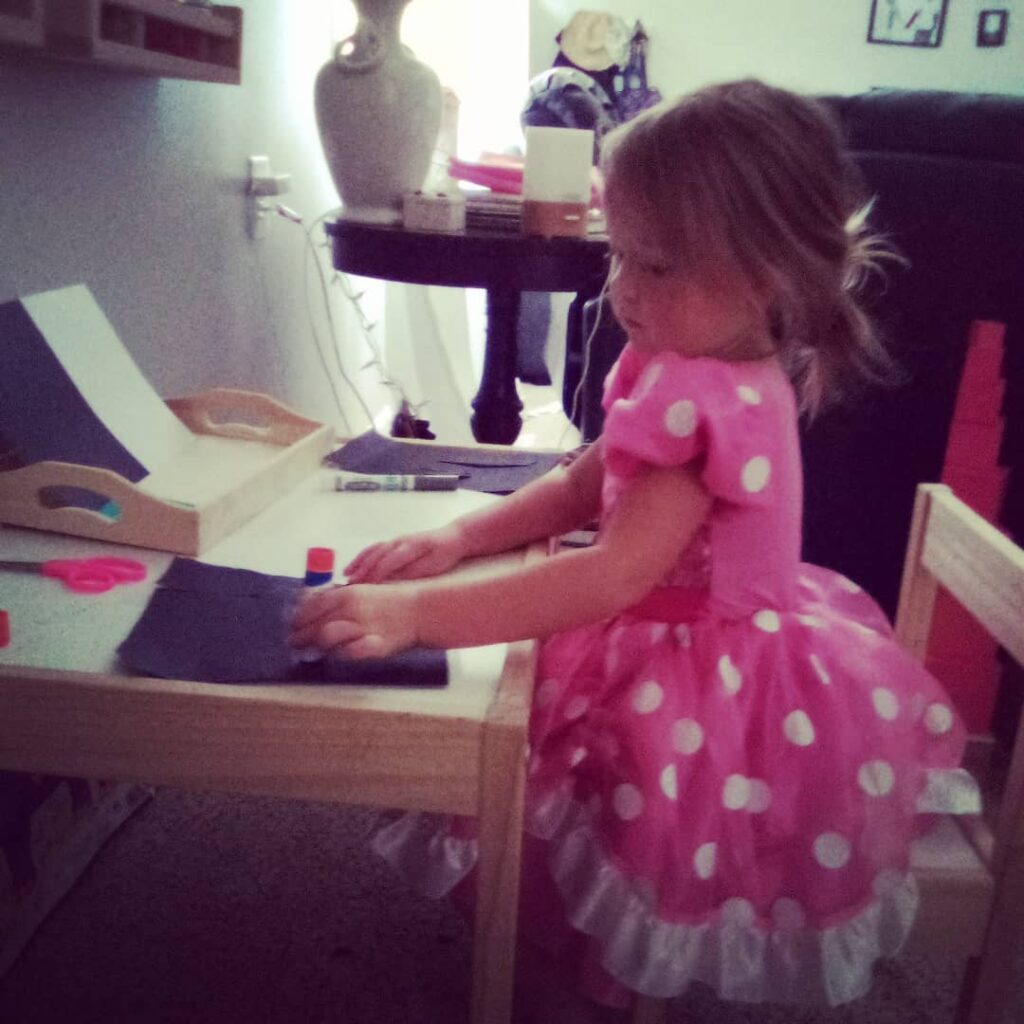
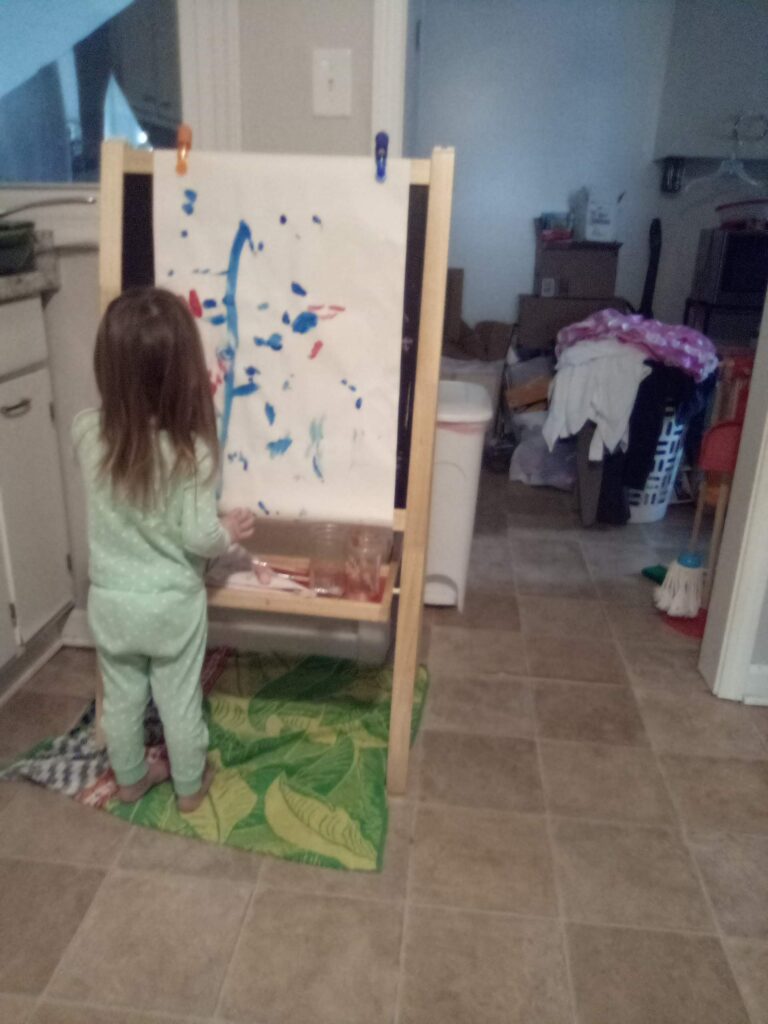
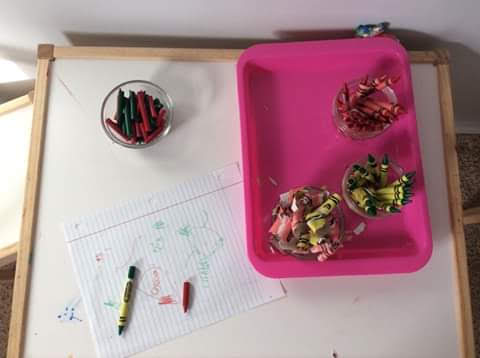
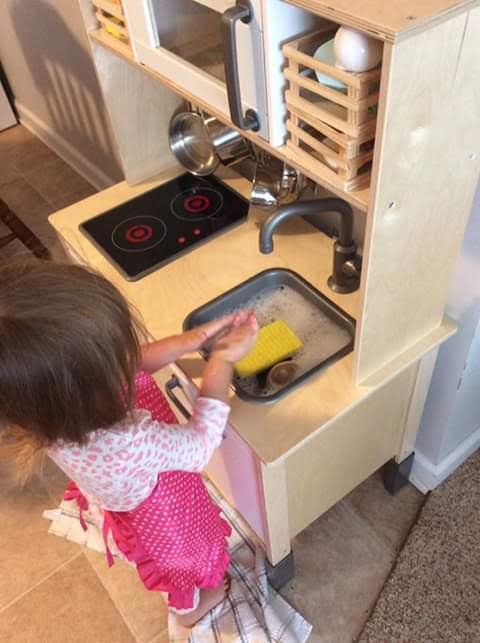
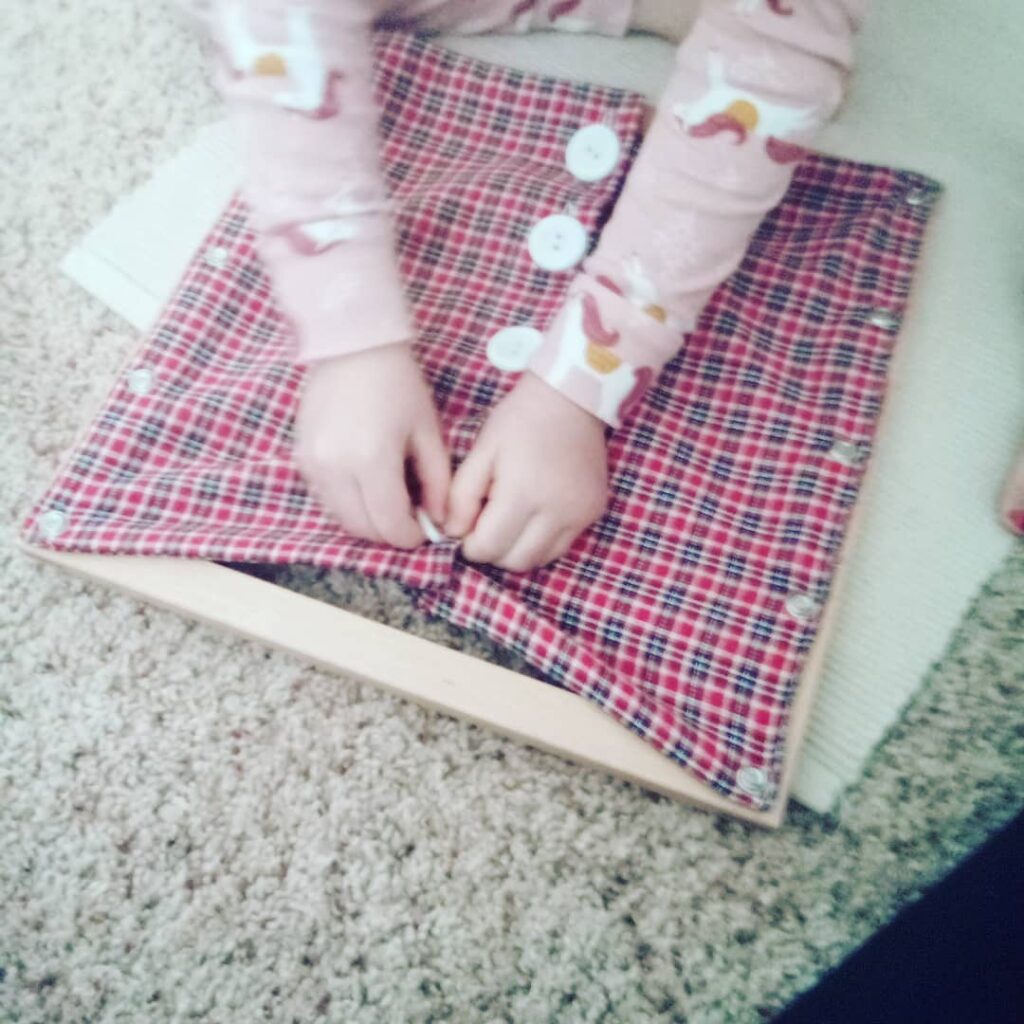
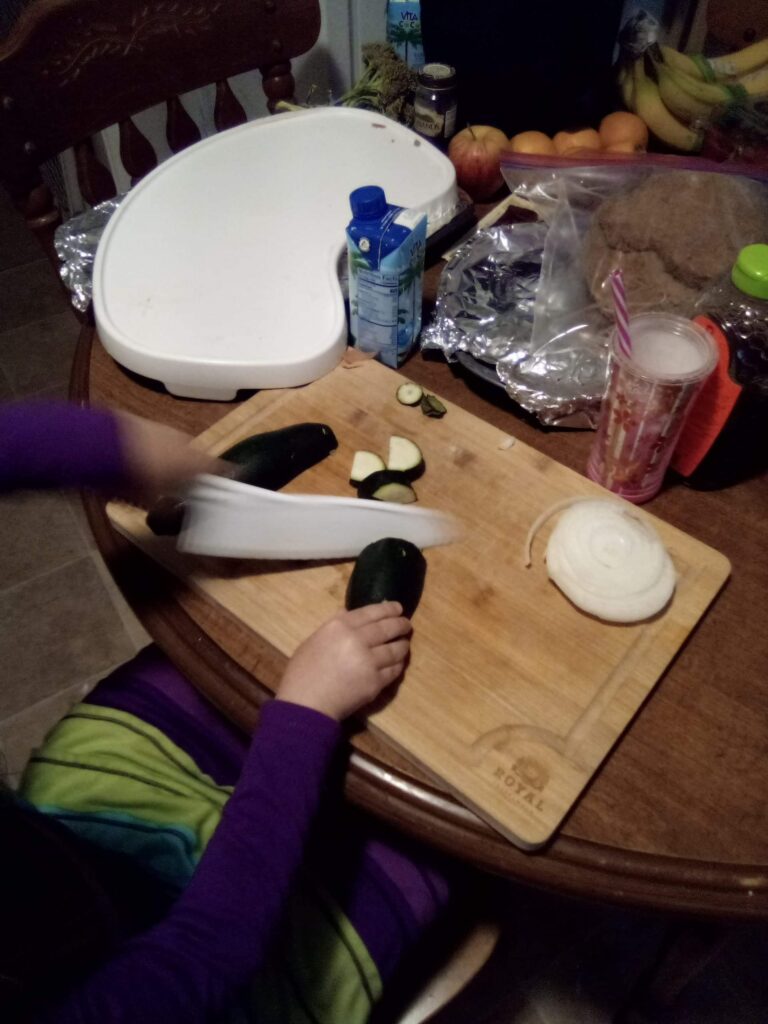
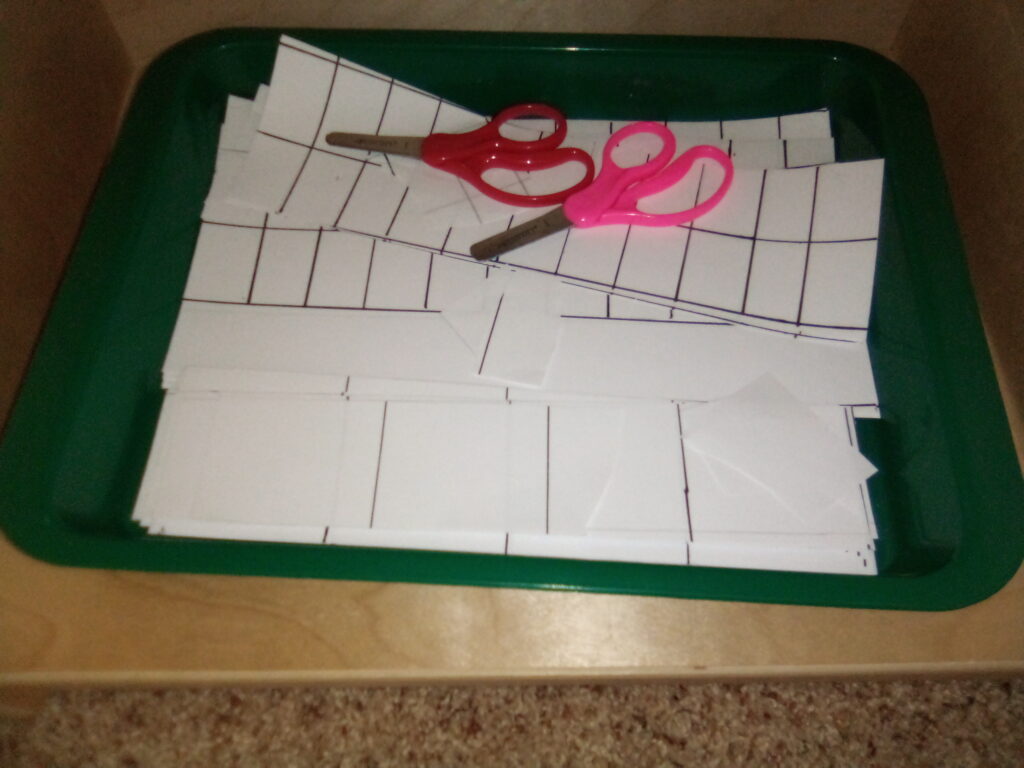
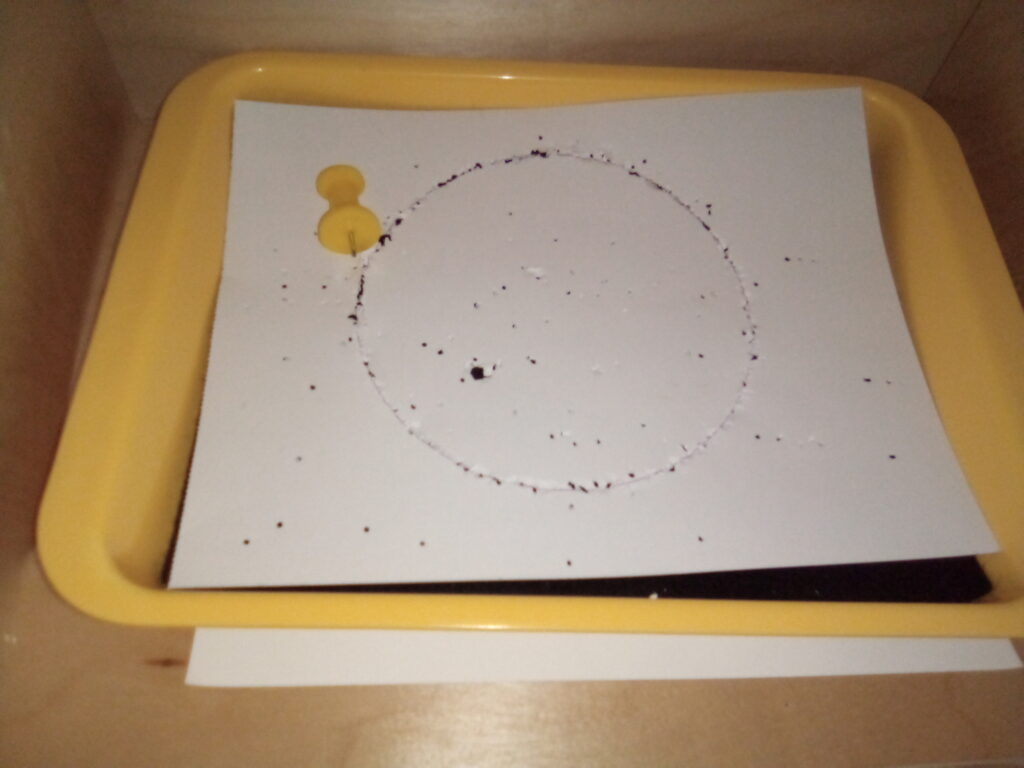
We have focused on making our space accessible for the girls and a “yes space” so we often have items that would be on the shelf in a cabinet or drawer in our kitchen, fridge, or pantry. I may set out an invitation to do something on the table (kind of like putting a tray together on the shelf) and I sometimes do put together practical life trays but we do not have a traditional practical life shelf. For example, we introduced clothes pins on our clothing line. Early transferring work is initially on the shelf but eventually just in the kitchen. They can (and will!) access what they need if they are interested. Much is taught as we cook and bake together. So what do we have for practical life? I have a run down here of most of it. In addition to this we have done quite a bit of hand strengthening trays (see pre-writing work here for a complete list) this last year including pre-sewing and early sewing work.
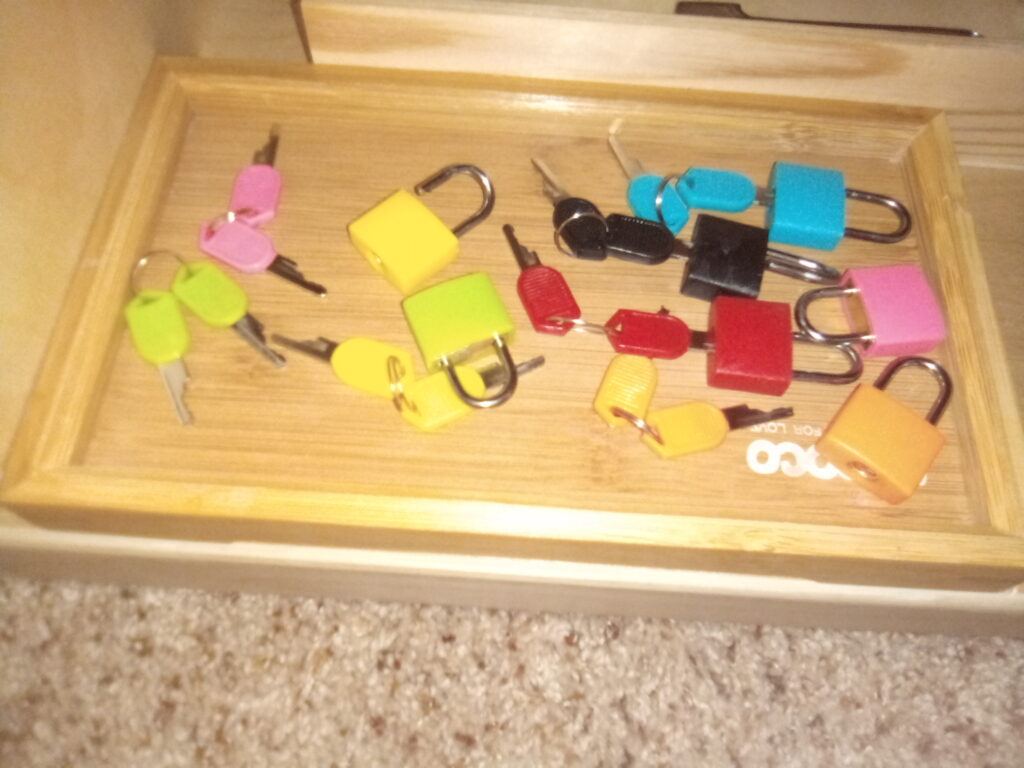
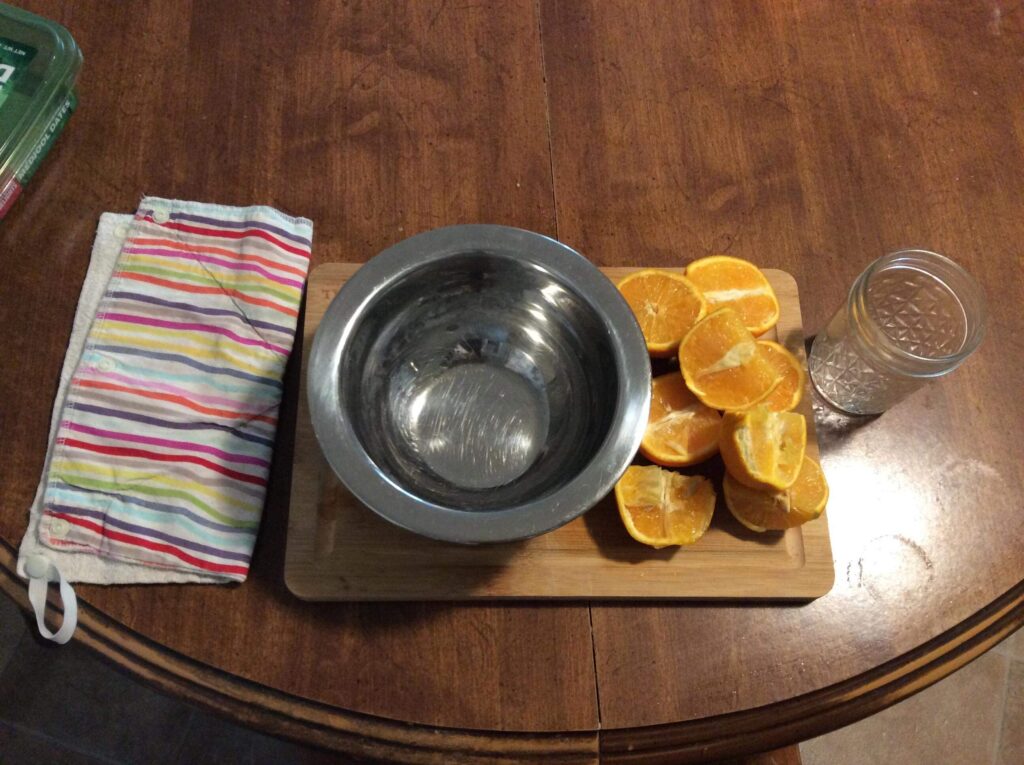
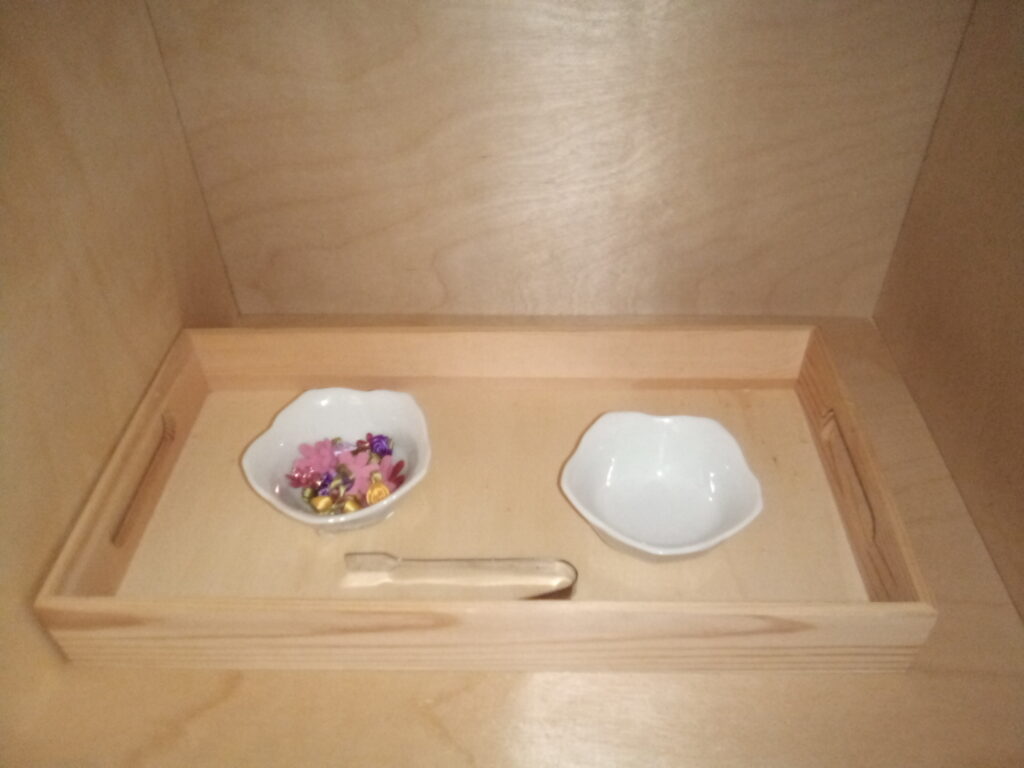
Here’s some examples of what practical life work looks like for us:

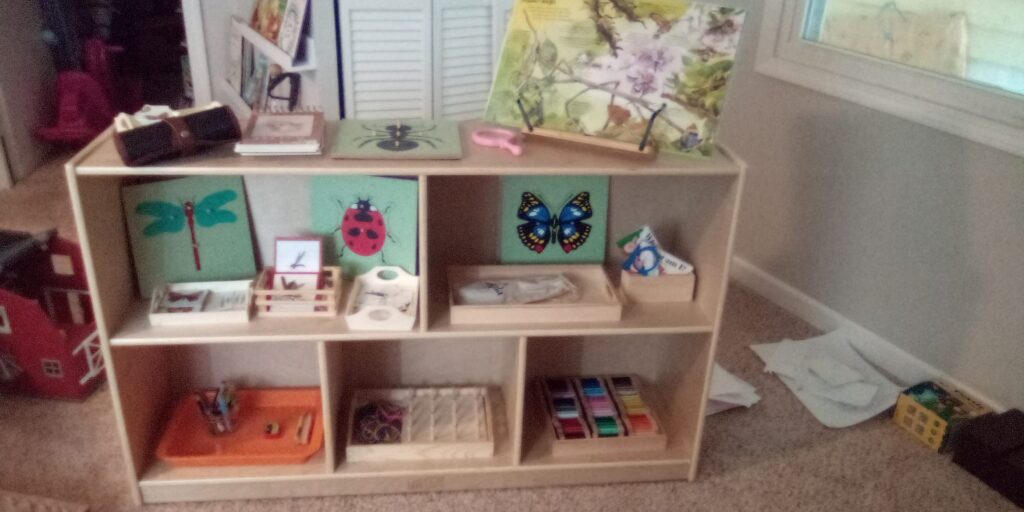
Let’s talk what materials we skipped purchasing and DIY’ing for sensorial. We opted to forgo traditional Montessori materials in tactile, baric, and thermic senses in the sensorial curriculum. Much of this we were able to intentionally explore organically in our environment. I drew attention to rough surfaces and smooth surfaced or we explored hot and cold in the kitchen with our own bowls. Another example is exploring different tastes and smells in food and smelling different essential oils.
What We DIY’d
I have DIY’d more than I initially planned. I am not crafty and as I mentioned, I am not a talented wood worker. I have DIY’d things that I couldn’t purchase (although I had not planned to!), couldn’t afford, or could easily DIY + it saved money to go towards something else.
Here’s what I have DIY’d so far:
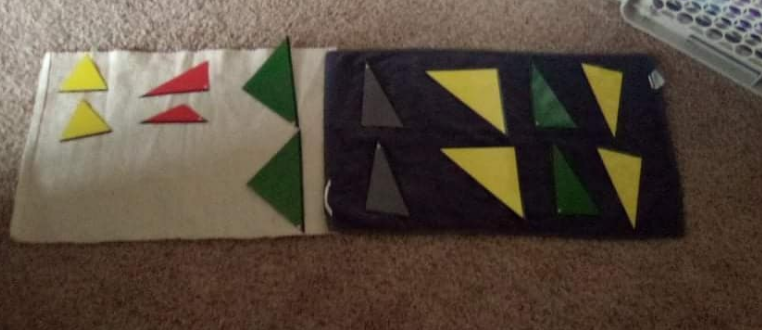
- Constructive Triangles – printed off from here (free) and laminated
- Geometric Shapes – printed off from here (free) and laminated
- Sensorial Decanomial – printed off from here (Making Montessori Ours – it has everything you ever need for the decanomial work) and laminated we use on a smooth surface (kitchen table for example) so we can slide them. I am contemplating putting something on the back to make them easier to pick up. But so far not too bad!
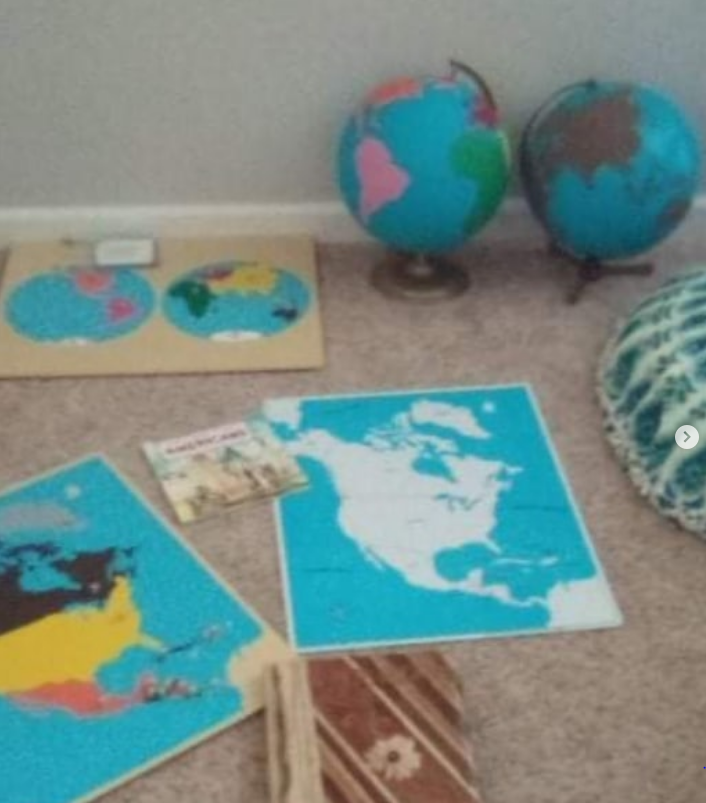
- Sandpaper Globe & Continent Globe- both were out of stock when I needed them due to the lock down so I made my own!
- Land/Air/Water Jars-easy DIY
- Cosmic Nesting Boxes -easy DIY! Saved quite a bit by making my own. I think I spent between $15-$20 total and the ones from Waseca are over $100
- Sand Tray- I just used a deep tray I already had + sand so just the price of a small bag of sand. If I lived near a beach, this would be free!
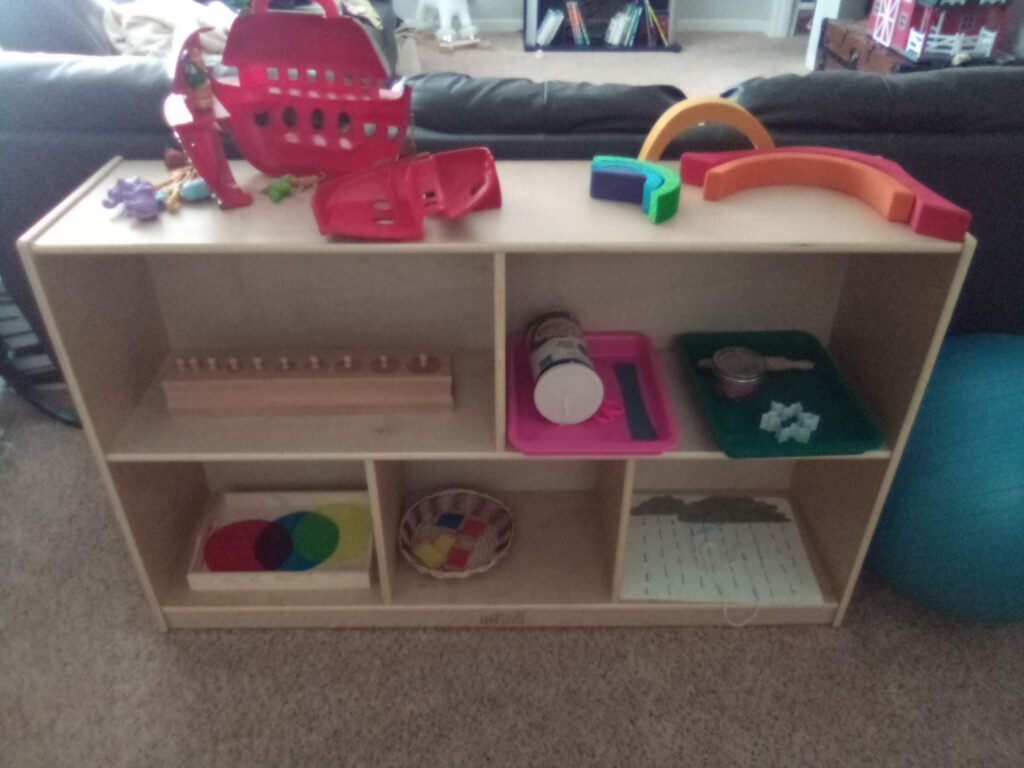
- Grammar Farm- I already have a farm plus animals so all I need is to write the cards as we go. I may decide to DIY a felt mat to go with it but I could see myself skipping this. You can also use a doll house or other mini environments and I see us utilizing a mix of these.
- ALL the beads for primary and secondary – These were way out of budget for us and doable for me to DIY. We spent just $200 total on materials to make this and to purchase them premade it would be
- Spindles – DIY gifted from my mom and sister; inspired by Mathessori’s version
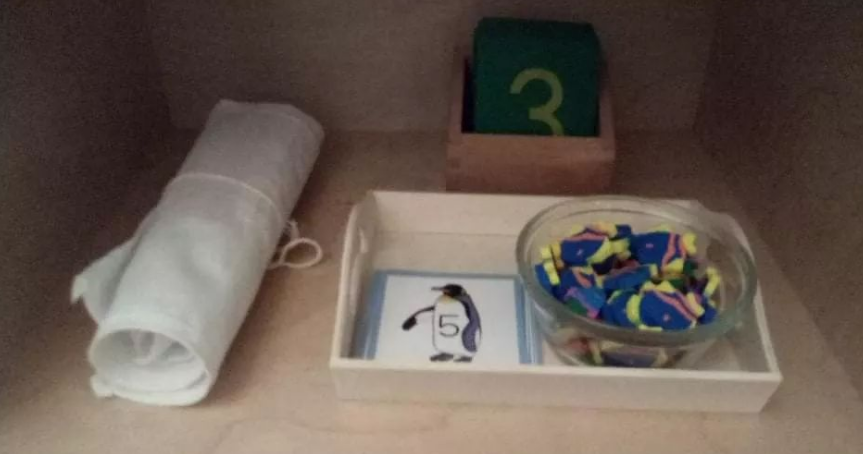
- Cards & Counters – easy to replicate and keep on theme
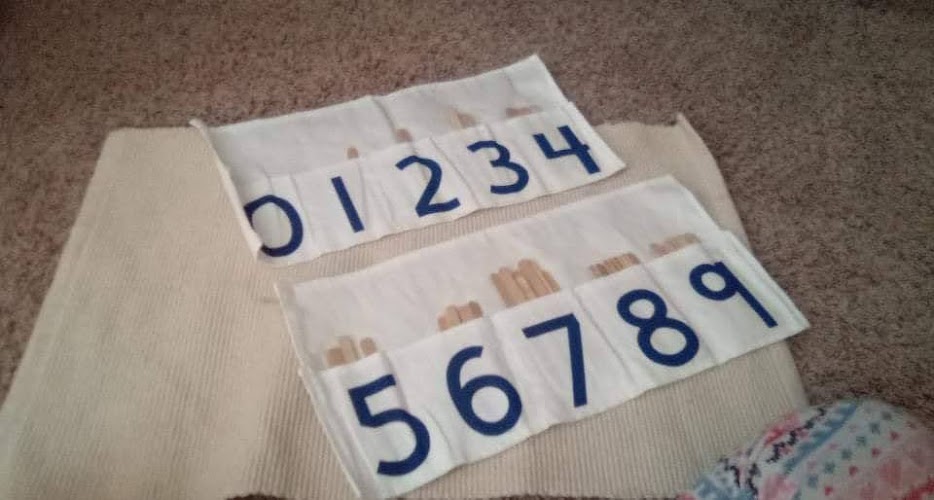
- Small and Large Number Cards – printed from here (free) and laminated
- Tens and Teens Cards (instead of the boards) – I printed these from Teacher’s Pay Teachers ($3)
- Dot Game – printing from here (free) + laminating to use more than once
- Four Operations Function Charts – printing from here (free) & laminating.
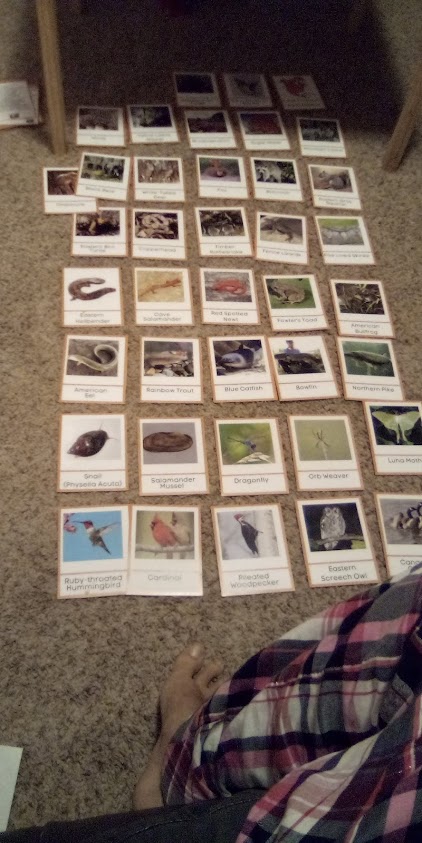
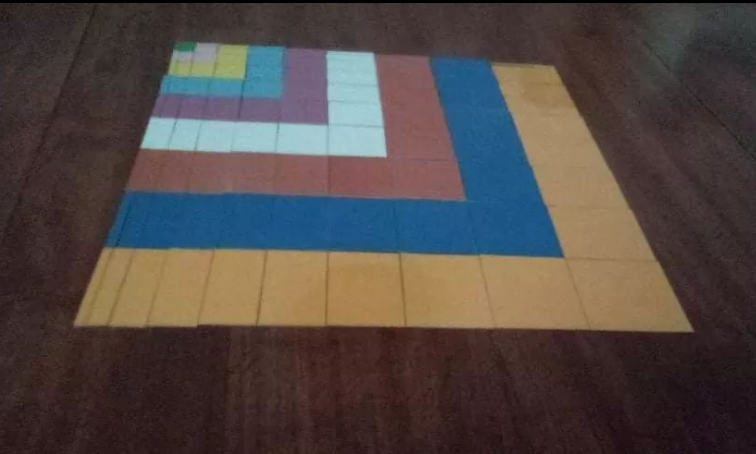
I often download and print 3 part cards, matching work, or math work that is cheaper than purchasing it completed OR fits in more with the theme/topic (because I created it specifically for the girls). I am regularly prepping items (and have recently began asking for help!) but I am in budget!
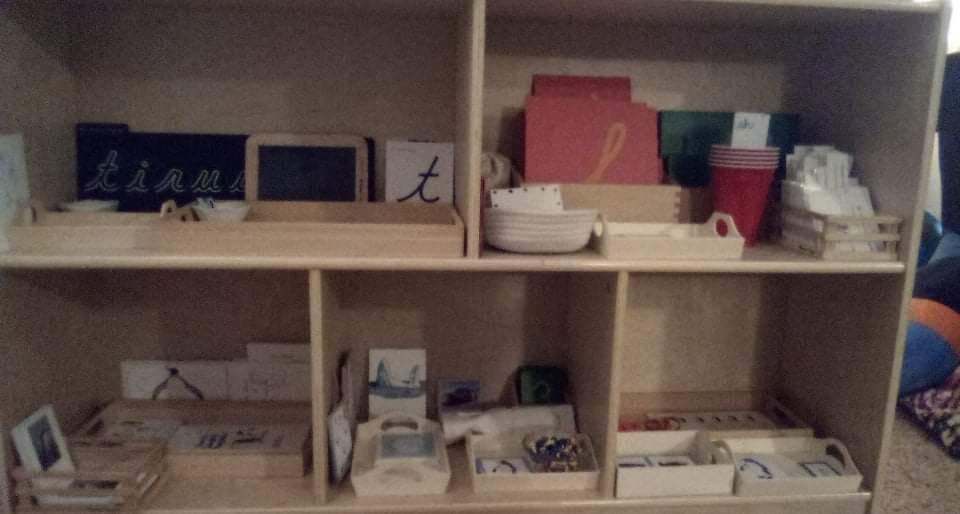
Here’s a few of the things we have DIY’d:
What We Purchased
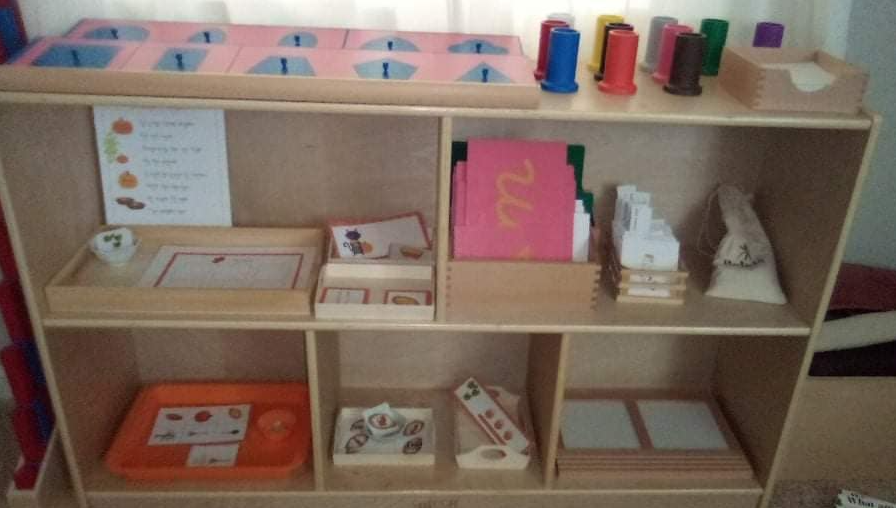
The rest of the materials I purchased new or used ahead of time. I spread it out and often will use extras like our tax returns to help cover materials. I have also been blessed to have been given trays and things to help with shelf work. I have a run down of what we purchased for Montessori 3-6 for Year 1, Year 2, and Year 3.
I hope you find this helpful on your own Montessori Homeschooling Journey! =)
If you liked this post, you’ll enjoy: